
The hardest part often happens before the first box moves. You open the attic door, notice the holiday decorations, old furniture, and cartons from your last move, and wonder where to begin. Some things deserve another look. Others have stayed upstairs simply because getting them out felt like too much work.
At Delaware Dumpster Rentals, we encourage homeowners to treat attic clearing as a planned household project rather than a race to empty the space. This guide walks through the process, from the first inspection to the final storage decisions, with practical advice for Wilmington and surrounding New Castle County communities.
Step 1: Decide What Your Attic Cleanout Should Accomplish
Set a clear goal
Before opening boxes, decide what success looks like. You might want to remove everything before selling your Wilmington home, clear a safe path to stored decorations, or reduce decades of accumulated belongings.
Write down your goal in one sentence. “Keep seasonal decorations and family records, but remove unused furniture and damaged household items” gives you a useful rule when decisions become difficult.
Avoid turning the project into several unrelated jobs. Clearing stored belongings does not automatically mean removing insulation, replacing flooring, or renovating the attic. Those tasks require separate planning and may involve qualified contractors.
A defined goal also helps you estimate the disposal workload. An attic with ten manageable storage bins presents a different project from one filled with furniture, broken shelving, and loose household debris.
Separate decisions from physical work
Some boxes need thoughtful review. Others contain items you already know you no longer want. Identify the decision-heavy categories before cleanout day.
Ask relatives about shared keepsakes, inherited belongings, or furniture that someone else owns. Set a deadline for their answers so those items do not hold up the entire project.
For sensitive paperwork, plan a secure shredding route. Put documents containing financial, medical, or identifying information aside rather than mixing them with ordinary discarded boxes.
Photograph a few sentimental objects if keeping the memory matters more than keeping the object. You do not need to make every emotional decision while standing in a cramped attic.
Step 2: Inspect the Attic Before Moving Anything
Check access and footing
Start at the entrance. Examine the stairs or pull-down ladder, the opening, and the landing area below. If access feels unstable or damaged, stop and arrange an assessment before carrying anything.
Next, identify where you can safely stand. Do not assume that insulation covers a walkable floor or that a few scattered boards create a dependable platform. Unfloored attic spaces present a serious fall-through hazard.
Leave unfamiliar areas alone until a qualified professional confirms safe access. A cleanout should never depend on balancing across exposed framing while holding a box.
Look for obstacles along the route: low roof framing, protruding nails, loose cables, and items leaning against the opening. Plan each movement before lifting, especially where headroom changes.
Identify problems that need professional attention
Check for leaks, stained materials, damaged wiring, animal activity, and suspicious insulation without disturbing them. The purpose of this inspection is to recognize reasons to pause, not to diagnose every condition yourself.
If the attic contains vermiculite insulation, assume it may contain asbestos and leave it undisturbed; the EPA recommends professional handling when work would disturb that material.
Do not move stored boxes through suspected hazardous insulation or attempt to bag it as ordinary cleanout debris. A dumpster rental does not make asbestos removal a do-it-yourself task.
Likewise, postpone cleaning areas with significant contamination or uncertain electrical conditions. Bring in the appropriate professional first, then continue once you have clear instructions about safe access and disposal.
Step 3: Build a Realistic Cleanout Schedule
Plan around access and effort
The number of boxes tells only part of the story. A small attic reached by a narrow ladder may take longer to clear than a larger space with a full staircase.
Break the work into stages: preparation, sorting, removal, and final organization. Give each stage its own time rather than assuming everything will fit into one Saturday.
For a Wilmington household with family members helping, assign specific responsibilities. One person can review belongings, another can manage downstairs categories, and a capable helper can assist with awkward items where access allows.
Keep the schedule flexible enough to stop for unsafe conditions. Finishing later is better than rushing a heavy dresser through an opening that barely accommodates it.
Coordinate disposal before starting
Arrange your dumpster delivery before the main removal phase, not after the driveway fills with discarded belongings. Confirm the delivery date, pickup plan, accepted materials, and rental terms.
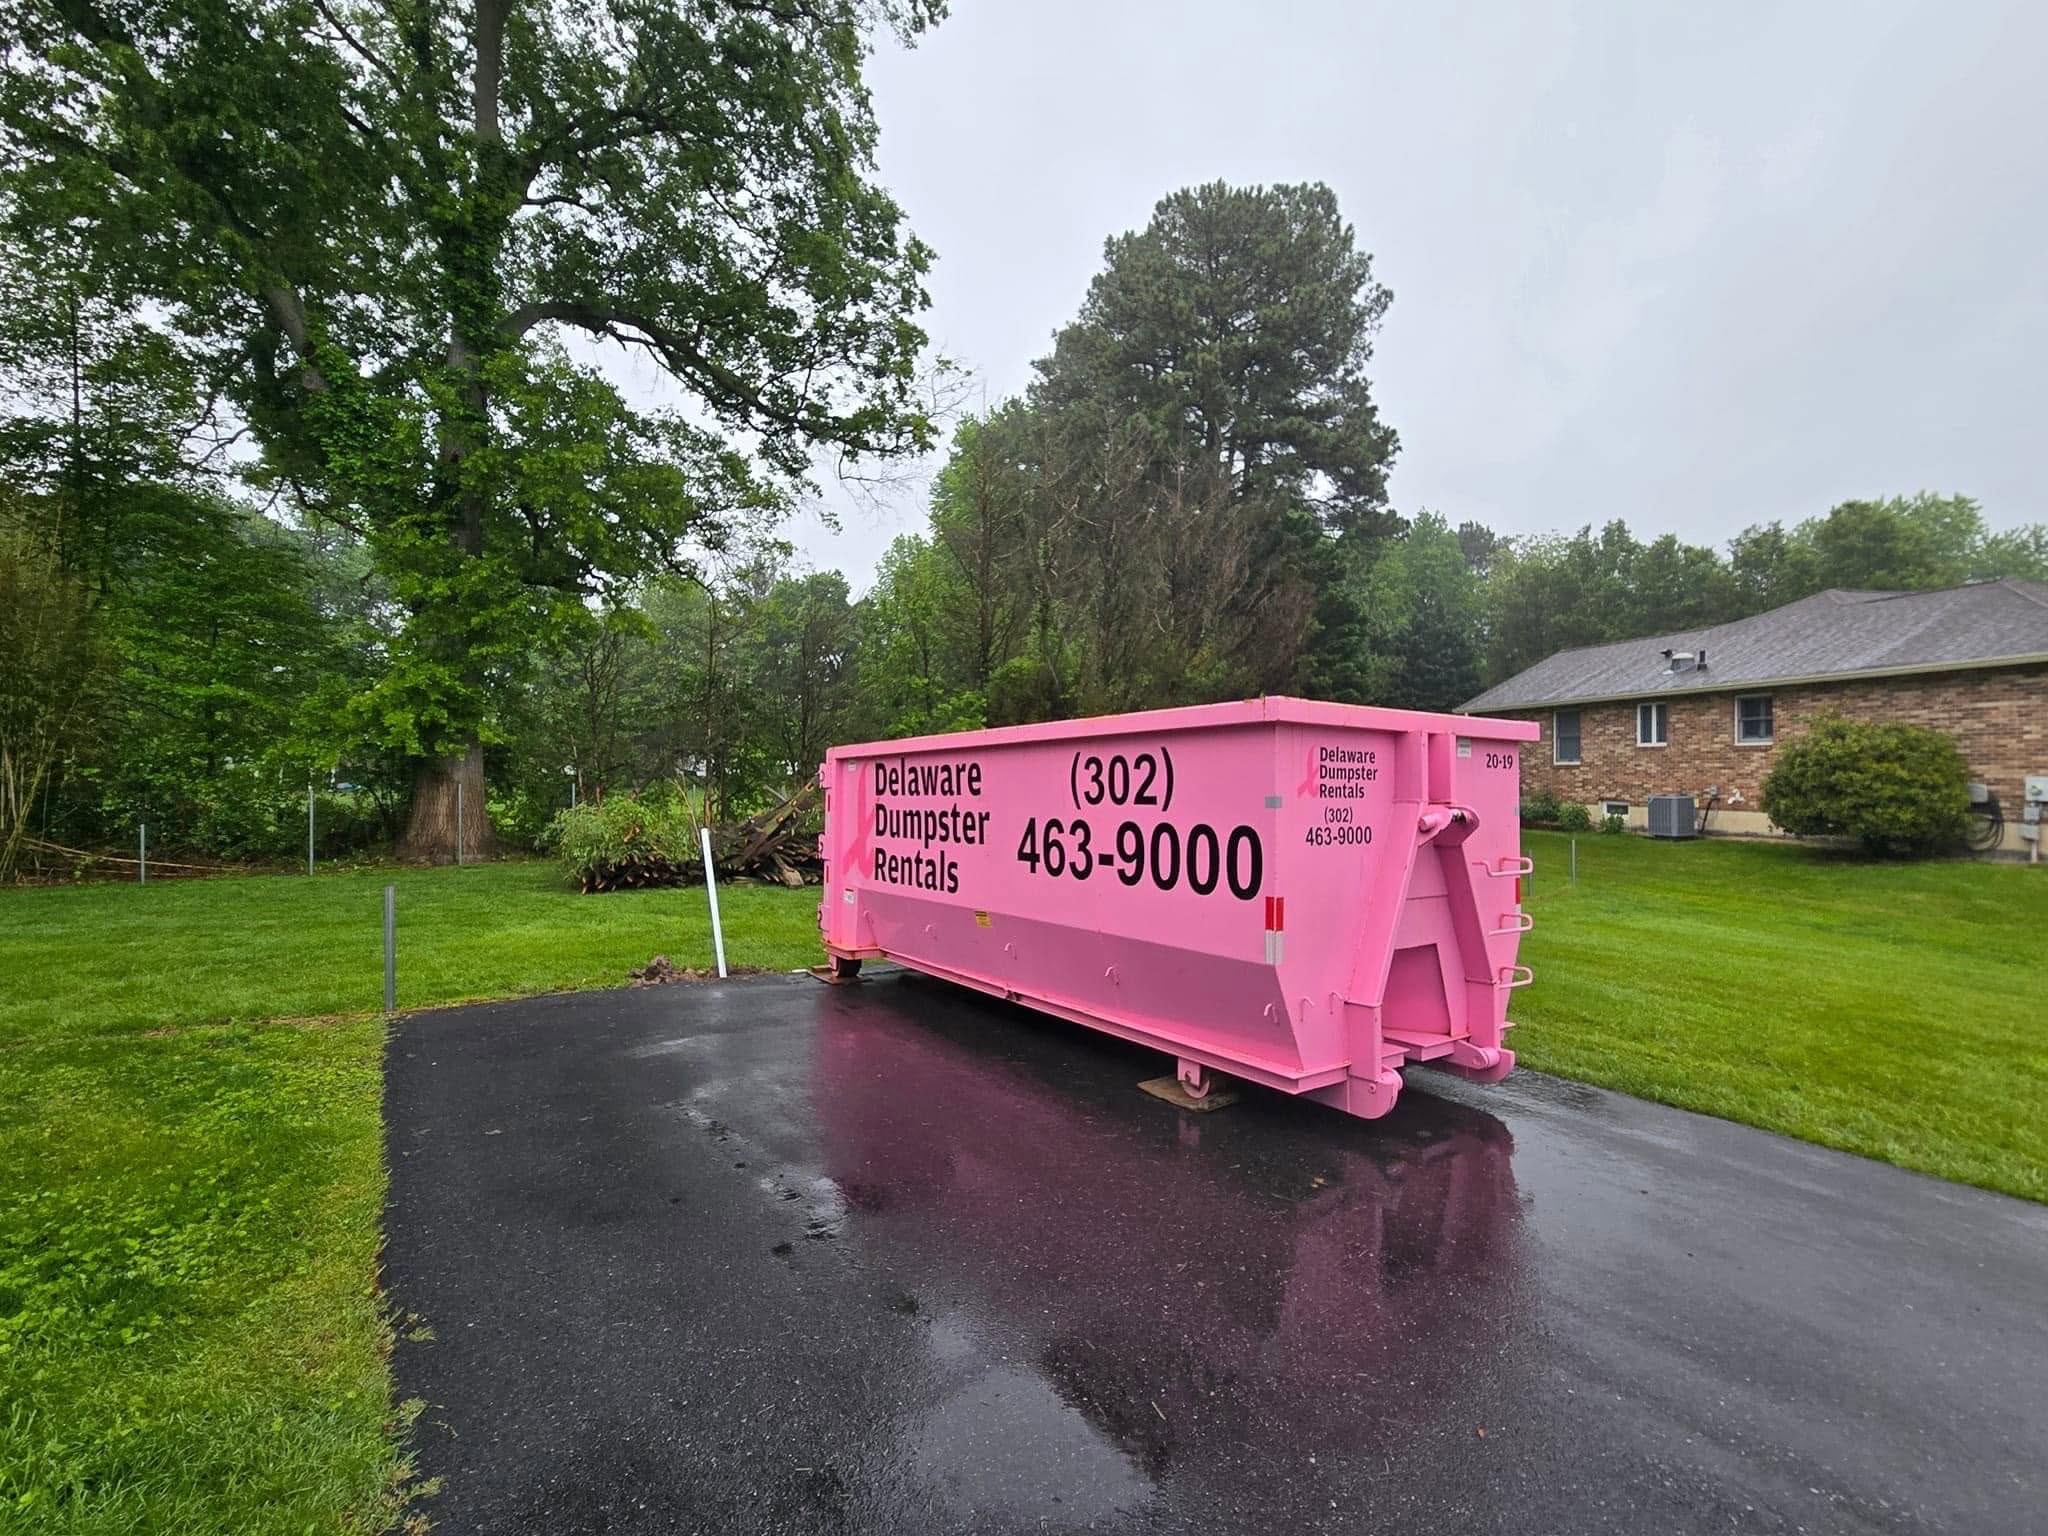
Our website lists 15-yard and 20-yard dumpster rentals with rental periods of up to 10 days.
Use the confirmed rental window to organize your work. You might sort selected boxes beforehand, move approved waste after delivery, and reserve the final day for checking overlooked corners.
Also schedule donation drop-offs or pickups separately. An unfinished donation pile can become the next storage problem if nobody takes responsibility for moving it off the property.
Step 4: Choose the Right Dumpster
Estimate volume after separating reusable belongings
Before selecting a container, make a rough inventory of what you expect to discard. Count bulky pieces, estimate the number of boxes, and note whether furniture can safely come apart.
Do not include everything currently upstairs in your waste estimate. Belongings you plan to keep, donate, or recycle through a separate program do not need dumpster space.
Describe the project in practical terms when discussing sizing: several broken chairs, an old shelving unit, twenty boxes of unusable household items, and a damaged rug. That description helps more than saying the attic is “pretty full.”
Consider the size of items after removal, too. A lightweight object can still occupy substantial space, while a compact box of books may be unexpectedly heavy.
Compare container footprints and rental terms
Our listed 15-yard dumpster measures 14 feet long, 8 feet wide, and 4 feet high; our listed 20-yard dumpster measures 16 feet long, 8 feet wide, and 5 feet high.
Those dimensions help you evaluate potential placement, but the delivery truck also needs access and working room. Confirm the location with us rather than relying on the container footprint alone.
Ask about the included weight allowance, prohibited materials, pickup requirements, and any charges that could apply to your project. Do not assume volume capacity and allowable weight mean the same thing.
A smaller attic does not automatically require the smaller dumpster. Your discarded materials, driveway conditions, and plans for related household decluttering should guide the decision.
Why a Dumpster Matters for Larger Cleanouts
Give approved waste one destination
The essential disposal question is simple: where will unwanted material go as you bring it downstairs?
For a substantial attic cleanout, an on-site dumpster answers that question immediately. Instead of creating a temporary pile, loading a vehicle, unloading it elsewhere, and repeating the process, you can move approved waste toward its final collection point.
Our home-project guidance identifies dumpster rental as an on-site waste-management option for residential projects, including attic clearing.
A dumpster is not necessary for every small decluttering task. However, it can become a central part of the plan when bulky furniture and accumulated household waste exceed what you can reasonably manage through routine disposal.
Keep disposal from interrupting decisions
Sorting requires attention. Repeatedly stopping to arrange another haul can pull you away from the decisions that actually empty the attic.
With disposal arranged, you can work through a section, move its approved waste out, and continue. The cleared area gives you a visible measure of progress without requiring you to reorganize the same discarded items.
Still, keep separate routes for donations, electronics, hazardous products, and anything the rental agreement excludes. The dumpster serves the waste portion of the project, not every category you uncover.
That distinction makes the cleanout more orderly. Each item receives a decision and a destination instead of becoming part of an unidentified pile downstairs.
Step 5: Prepare the Property and Carrying Route
Choose a workable delivery location
Select a potential location on a stable surface, then confirm it with the rental provider. Think about loading access, vehicle movement, doors, and the path from the house.
Wilmington properties vary considerably. A rowhome may have limited off-street space, while a suburban property near Newark or Hockessin may offer a longer driveway but more carrying distance.
Do not assume you can place a container in the street, on a sidewalk, or in another shared area. Ask the relevant municipality about placement requirements, and check applicable property or association rules before delivery.
Keep parked cars and other obstacles out of the agreed delivery area. Tell the provider about overhead wires, low branches, tight turns, or any access issue that may affect placement.
Clear the route inside
Walk the entire route from the attic opening to the dumpster location. Remove shoes, rugs, decorative objects, and anything else that could interfere with carrying.
Protect vulnerable surfaces without creating loose edges or slippery coverings. Leave enough room at doors and stair landings to turn safely.
Set up a downstairs sorting area away from the travel lane. Label the categories clearly so helpers do not place a donation box beside discarded material.
Keep children and pets away from the work route. Avoid propping open exterior doors unless someone controls access, particularly when helpers make repeated trips outside.
Step 6: Sort Belongings One Section at a Time
Use categories with clear destinations
Begin near the entrance and work through one reachable section. Resist the urge to open boxes throughout the attic; that spreads decisions across the space and makes progress harder to track.
Use these categories:
- Keep: Belongings you will use, need, or intentionally preserve
- Donate: Usable items that meet the recipient’s acceptance requirements
- Recycle separately: Materials accepted through an appropriate recycling route
- Dispose: Approved waste intended for the dumpster
- Review: Items requiring a specific person’s decision
- Special handling: Unknown products or materials needing disposal guidance
Make the review category temporary. Label each item with the person responsible and a decision deadline.
Do not place unidentified chemicals or leaking containers into an ordinary sorting pile. Leave them safely isolated and seek handling instructions before moving them.
Make practical decisions without rushing
Ask when you last used an item and whether you have a realistic reason to use it again. “Someone might want it someday” is not a destination.
For donations, assess condition honestly. A broken chair or heavily damaged textile does not become reusable simply because you prefer not to discard it.
Check what each donation organization accepts before loading your vehicle. Keep rejected items from circling back into the attic by deciding on an alternative route.
Allow extra time for family photographs and keepsakes. Put delicate decisions into a planned review session rather than letting one sentimental box stop every helper’s work.
Step 7: Move Items Downstairs Safely
Work with manageable loads
Pack loose contents into containers you can comfortably control. Divide heavy collections into smaller loads instead of filling a large box simply because space remains.
Check handles and box bottoms before lifting. If a container feels unreliable, repack its contents rather than trying to carry it carefully enough to compensate.
Keep your view clear during every trip. When an item blocks your sight of the stairs or requires an awkward grip, change the plan.
Avoid carrying loads on a ladder if doing so prevents safe climbing. Arrange suitable assistance or professional removal when the access route cannot accommodate the object safely.
Plan bulky-item removal
Measure furniture and the attic opening before attempting removal. Then inspect the entire route, including corners and the landing below.
Remove detachable parts when you can do so safely. Bag the hardware and keep sharp edges controlled. Do not dismantle something under tension or take apart unfamiliar equipment.
Use enough capable help for the task and agree on commands before moving. One person should call when to lift, turn, pause, or lower.
Never throw belongings from the attic, through a window, or toward the dumpster. Carry items by a controlled route, or hire professionals with appropriate equipment for difficult removals.
Attic Cleanout Safety
Dress for the work and conditions
Wear sturdy footwear, work gloves appropriate to the task, and eye protection where dust or debris could reach your eyes. Choose clothing that allows movement without catching easily on framing.
Use adequate lighting before entering the work area. A headlamp may help keep your hands available, but it should supplement a clear, well-lit route rather than replace it.
Do not treat protective equipment as permission to enter a hazardous space. Suspected asbestos, significant contamination, or unsafe structures require a different plan.
Keep a phone accessible and tell another adult when you are working upstairs. Avoid doing difficult removal tasks alone.
Take heat seriously
Extreme attic heat can create a serious physical hazard, and restricted access may make leaving the space more difficult.
Plan short work periods and regular breaks outside the attic. Bring drinking water to an accessible location downstairs, and postpone strenuous work when conditions feel unsafe.
Stop immediately if you feel unwell, dizzy, weak, or confused. Get assistance rather than trying to finish one more load.
For Wilmington-area homeowners, the best cleanout date is not necessarily the first available weekend. Choose conditions that allow you to work deliberately, and adjust the schedule when the attic becomes uncomfortable.
Leave insulation and building systems alone
Stored belongings and building materials are different jobs. Do not pull insulation away to retrieve an object, alter wiring to clear a path, or remove boards without understanding their purpose.
Keep tools and boxes away from equipment and access points. If moving an item requires contact with an unfamiliar building system, pause and get qualified guidance.
Avoid sweeping or vacuuming uncertain material. Ordinary cleaning methods can disturb substances that require specialized handling.
Safety depends on knowing when not to continue. Leaving one corner untouched until a professional assesses it is a sensible outcome, not an incomplete effort.
Step 8: Separate Restricted Waste
Keep hazardous products out of the dumpster
Attics sometimes contain forgotten household products, old batteries, or unidentified containers. Set these aside for disposal guidance rather than assuming they belong with general household waste.
Delaware Solid Waste Authority operates household hazardous waste collection programs for Delaware residents. [web:8]
Keep products in their original containers when possible, do not mix them, and follow the program’s packaging instructions before transport.
If a container leaks, bulges, lacks a label, or seems unsafe to move, seek advice before handling it. Do not open it to identify the contents by smell.
Arrange separate recycling routes
Give electronics and batteries their own clearly marked area downstairs. Remove them from the ordinary waste stream before helpers begin loading.
DSWA provides electronic goods recycling at designated locations and offers household battery recycling collection points.
Check current acceptance requirements and hours before leaving home. A recycling location’s availability does not guarantee that every unusual item qualifies.
For residents in Wilmington, New Castle, and Newark, incorporate those drop-offs into the project schedule. Assign a person and a date so the separate recycling pile actually leaves the property.
Step 9: Load the Dumpster Methodically
Use space without creating unsafe tasks
Confirm accepted materials before loading. Then place approved items deliberately rather than tossing everything into the first available opening.
Flatten empty cardboard boxes and safely dismantle bulky discarded items when practical. Put smaller approved materials into available spaces without forcing or climbing over the load.
Distribute material across the container instead of building one tall pile. Keep the loading area clear of loose debris and maintain access for the remaining trips.
Do not climb into the dumpster to compact waste. If an item is difficult to position, stop and ask about a safer approach.
Watch both height and weight
Follow the container’s fill line and the rental agreement. Do not allow furniture, boards, or other materials to extend beyond permitted boundaries.
Remember that available space does not mean unlimited loading. A box of books and an empty suitcase occupy space very differently by weight.
If the container approaches its limit before the attic is clear, contact us before adding more. Discuss the remaining materials rather than trying to solve the problem by overfilling.
Keep unapproved items out even when only one remains. Correct disposal matters more than achieving an entirely empty staging area that afternoon.
Step 10: Finish With Intentional Storage
Inspect the cleared space
Once belongings are out, examine accessible areas without disturbing insulation or building components. Record any stains, damage, or maintenance concerns that need professional attention.
Clean only appropriate surfaces after ruling out hazardous materials. Avoid pushing debris into gaps or moving uncertain material to make the space appear tidy.
Take photographs of the cleared layout. They can help you track storage locations and explain maintenance concerns without repeated trips upstairs.
Keep the entrance and safe travel path open. Do not use newly available space to create another obstacle beside the attic hatch.
Return only suitable belongings
Before returning anything, reconsider whether the attic is the right location. Important records, delicate photographs, and frequently used items may deserve more accessible indoor storage.
Use clearly labeled containers for the items you intentionally keep. Describe the contents specifically enough that you will not need to open every bin next season.
Avoid concentrating heavy belongings in one area or assuming a cleared floor can support unlimited storage. Ask a qualified professional when you have questions about capacity.
Choose a future review date. A brief check after each holiday season or household move can keep unused belongings from rebuilding the same problem.
Complete the Cleanout Without Loose Ends
Before pickup, check the approved load against your rental terms and make sure the agreed collection area remains accessible. Move vehicles and other obstacles as instructed.
Walk the interior carrying route and the outside loading area. Remove stray packaging, inspect surface protection, and check that no discarded items remain beside the container.
Finish the donation, recycling, and document-shredding tasks as well. An empty attic with unresolved piles downstairs only relocates the project.
Whether you live in Wilmington or a surrounding New Castle County community, the same sequence applies: inspect first, give each item a destination, remove it safely, and close out every disposal route. The result is a manageable attic rather than another space you avoid opening.
Attic Cleanout FAQs
What is the most efficient way to clean out an attic?
We recommend inspecting access and hazards first, then arranging disposal, establishing sorting categories, and working through one section at a time. Move decided items downstairs in manageable loads. Keep donation, recycling, and special-handling materials separate so they do not interrupt loading or require another full sorting session.
What size dumpster do I need for an attic cleanout?
We base sizing guidance on the amount of approved waste, bulky-item dimensions, estimated weight, and property access. We offer 15-yard and 20-yard dumpsters, but neither size automatically fits every attic project.
Prepare an inventory of discarded furniture, boxes, and other materials before discussing the container size.
Is a dumpster rental essential for every attic cleanout?
We do not recommend treating every small decluttering task as a dumpster project. A few unwanted items may have a simpler disposal route. For a larger cleanout, a dumpster provides one on-site destination for approved waste and helps prevent repeated handling of accumulated debris.
Can I put old attic insulation in the dumpster?
We ask homeowners to identify the material and confirm acceptance before including insulation. Do not disturb suspected vermiculite insulation; the EPA advises assuming it may contain asbestos and using trained professionals when removal is necessary.
A household cleanout rental should not replace a professional assessment of uncertain insulation.
Where should I put a dumpster at my Wilmington home?
We recommend discussing a stable, accessible location that allows delivery, loading, and pickup without blocking essential access. The appropriate spot depends on your property and the truck’s requirements. Before using a street, sidewalk, or shared area, check applicable placement rules and obtain any required authorization.
How long should I allow for an attic cleanout?
We recommend planning separate time for inspection, sorting, removal, and final organization. Access difficulties, sentimental belongings, and bulky furniture can extend the work. Our listed dumpster rental periods run up to 10 days; confirm your project’s delivery and pickup dates when arranging the rental.