
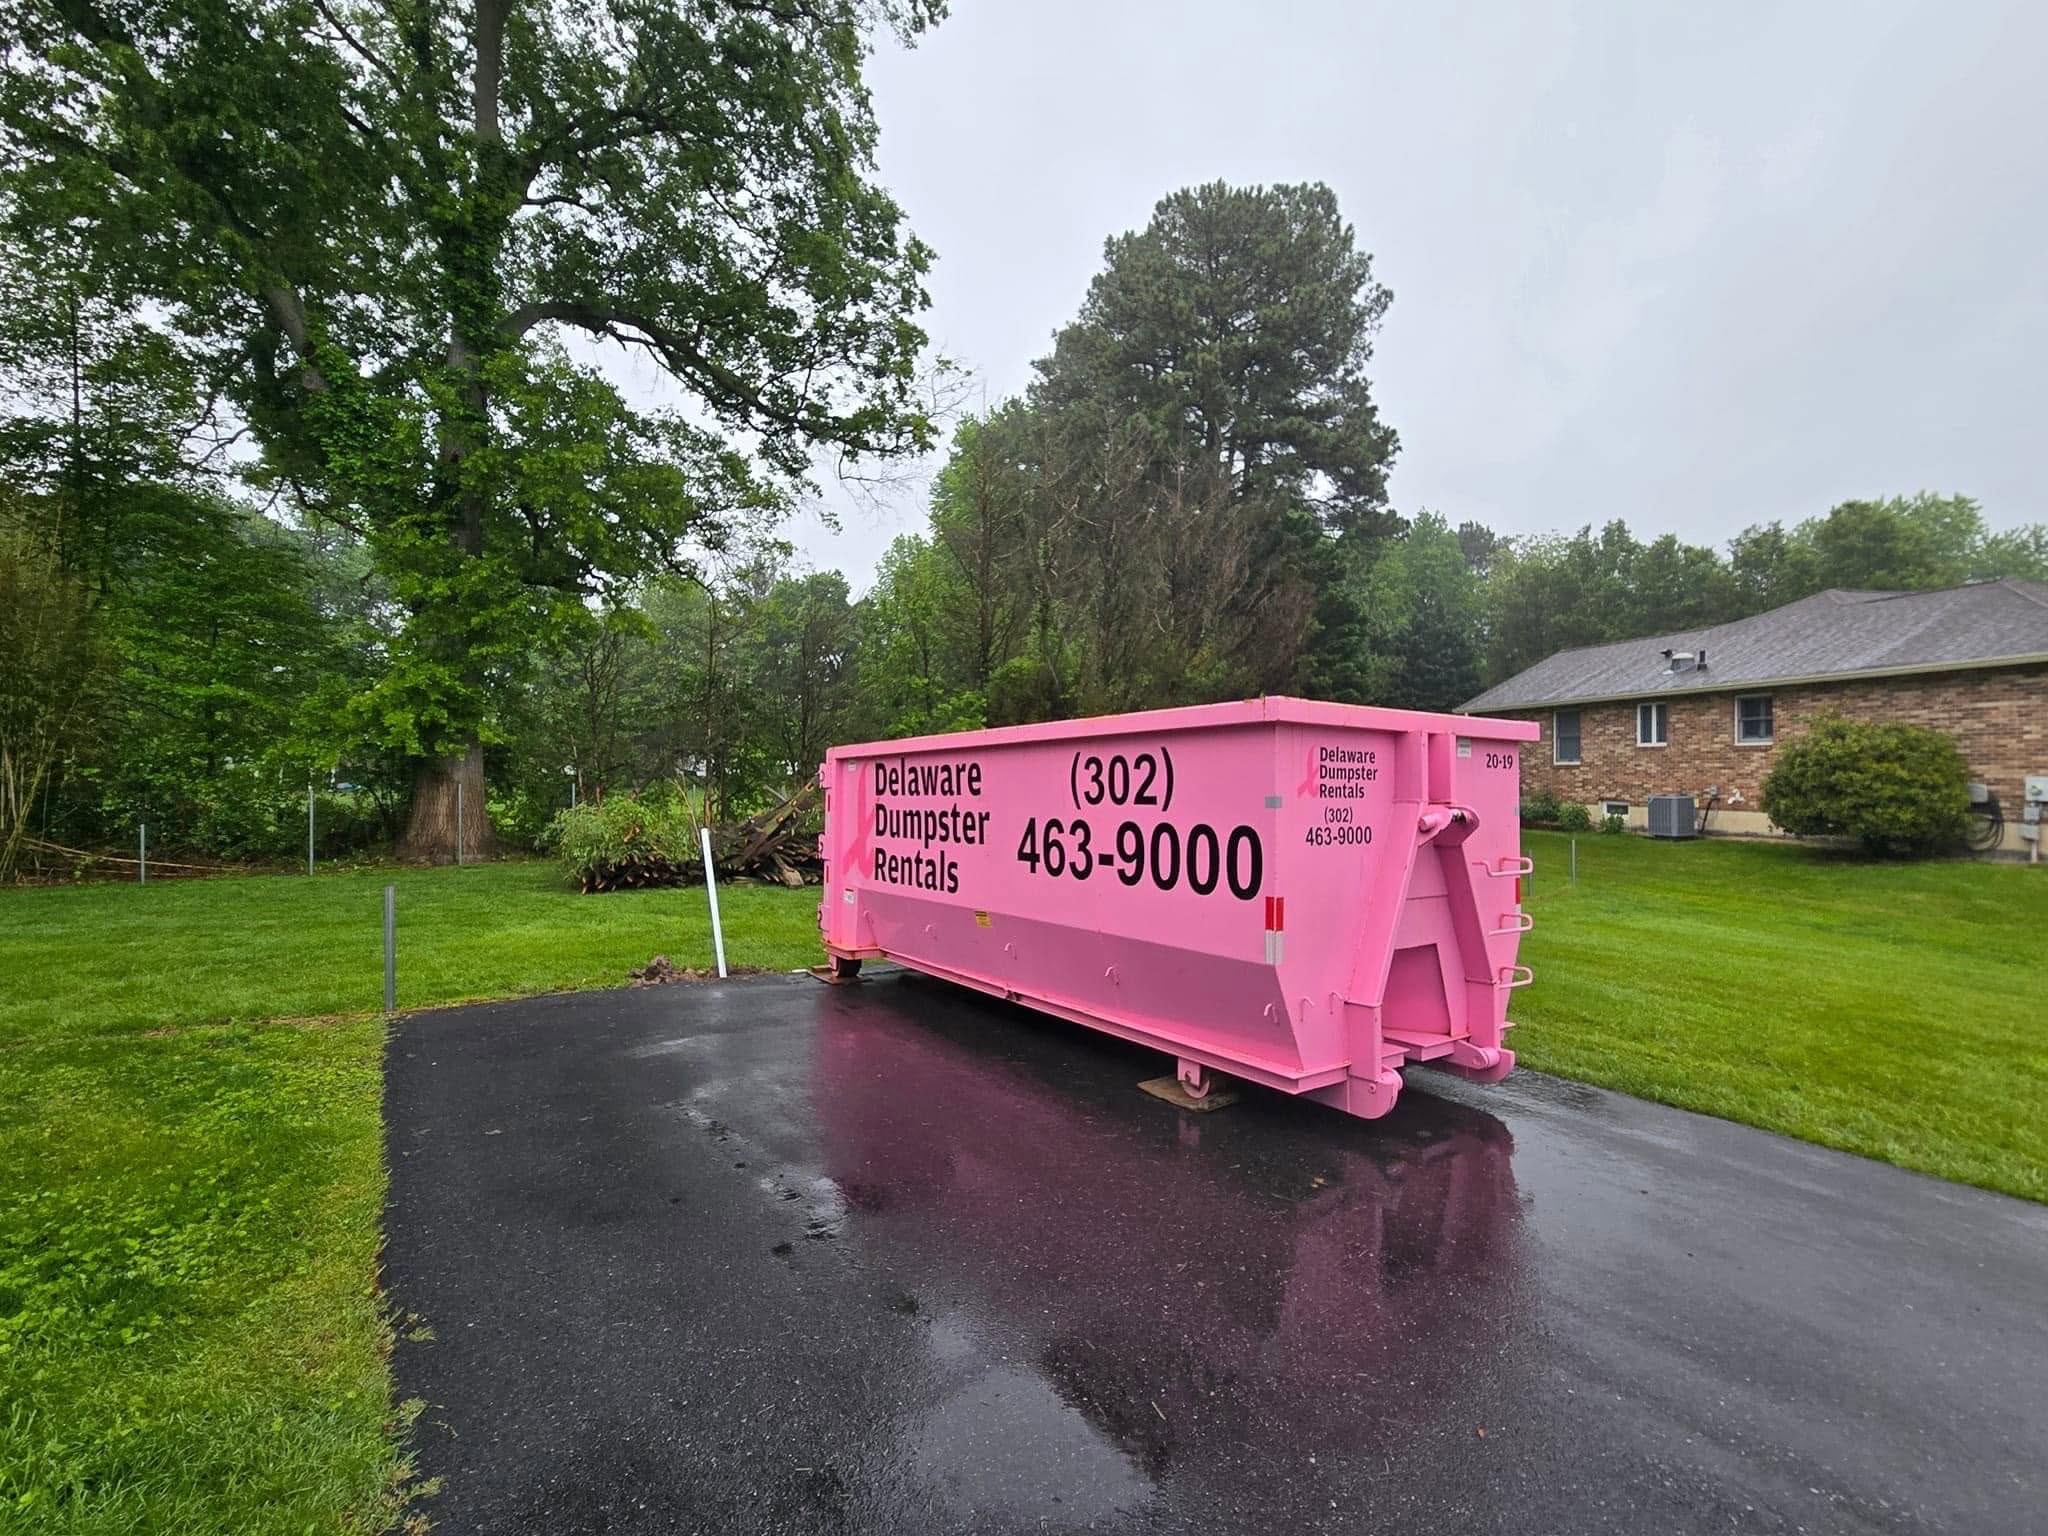
The first few things you toss into a dumpster rarely seem important. A broken chair goes in sideways. A couple of trash bags land wherever they fit. Then you carry out a cabinet, a rolled-up rug, and half the contents of the garage—and suddenly the container looks full even though you can see empty space under everything.
If you are wondering how to load a dumpster rental properly, start before the first item goes in. Identify what you are throwing away, check which materials belong in the container, and make a simple plan for the bulky and heavy pieces. You do not need to stack every scrap perfectly. You just need to make the next load easier than the last one.
Start With the Right Dumpster for the Job
No loading technique can turn a container into a larger one. Before you schedule delivery, walk through the rooms you plan to clear and look beyond the bags of loose clutter. An old sofa, kitchen cabinets, several rooms of carpet, and a stack of shelving take up space differently. Dense materials such as tile and roofing shingles bring another concern: weight.
At Delaware Dumpster Rentals, we offer a 15-yard dumpster that measures 14 feet long, 8 feet wide, and 4 feet high. We also offer a 20-yard dumpster that measures 16 feet long, 8 feet wide, and 5 feet high. Both have rental periods of up to 10 days. Our 20-yard dumpster guide lists 2 tons of included disposal capacity for that size; check the terms of your specific rental before assuming any weight allowance applies to your project.
When a 15-yard dumpster makes sense
A 15-yard container can work well for a substantial garage cleanout, a moderate kitchen update, a bathroom renovation, flooring from several rooms, or a larger yard cleanup. Its lower side walls can make loading manageable when you are carrying ordinary household debris to the driveway. If you are unsure whether the project will stay modest, list the largest items first rather than judging the job by the number of trash bags you expect.
When to consider a 20-yard dumpster
A 20-yard container gives you more room for a whole-home cleanout, several rooms of renovation debris, an estate cleanout, or bulky furniture mixed with other household junk. The extra space can help when a project keeps growing as you work. It is not permission to fill the container with unlimited concrete, soil, or tile, though. A load can reach its weight limit long before it reaches the top edge.
For a Wilmington homeowner removing old cabinets, drywall, and a few pieces of furniture, volume may drive the decision. For someone taking out a patio or several rooms of ceramic tile, weight deserves just as much attention. Tell us what the debris actually is before you choose a size; “home renovation waste” alone does not tell the whole story.
Prepare Your Property Before Delivery
The easiest way to load a dumpster is to put it where you can use it safely. A spot near the work area saves trips across the property, but the truck still needs access for both drop-off and pickup. Think about where you will park, how you will get out of the house with large items, and whether the container will block a walkway, garage door, or shared driveway.
For many Wilmington-area homes, a firm, level driveway is the practical choice. Our delivery guide advises clearing the truck’s approach, checking for overhead branches and wires, and leaving the placement area unobstructed. It describes a straight approach of at least 60 feet, roughly 10.5 to 11 feet of width, and 23 to 30 feet of vertical clearance above the drop-off location. Tell us if your driveway or street layout may not allow that much room so placement can be discussed before delivery.
You can ask about placing sturdy plywood where the dumpster’s contact points will rest to help protect a driveway, but do not assume it eliminates the risk of marks or damage. If your driveway is newly paved, steep, narrow, or shared, mention that when you arrange delivery. Move vehicles, bins, and other obstacles ahead of time. Make sure the route stays open on pickup day, too; a beautifully loaded dumpster cannot leave if a car blocks the truck.
Placement rules also matter. If you want the container on a public street, sidewalk, or alley rather than private property, check the applicable local right-of-way requirements before scheduling. If you live in a neighborhood with an HOA, check its rules as well. Requirements can depend on the specific location, so confirm rather than guessing from what a neighbor did last year.
Sort Your Debris Before the First Load
Picture a garage cleanout in Wilmington. The pile by the door contains flattened boxes, a damaged bookcase, two old paint cans, loose batteries, a rolled rug, and a broken chair. Only some of those items belong in an ordinary dumpster without further checking. If you throw everything in together, you may end up climbing through the load to retrieve something that should have stayed out.
Set up three areas before you begin: items you will keep or donate, materials you have confirmed can go in the dumpster, and anything that needs a separate disposal decision. You can keep the system simple. A few clearly marked boxes or corners of the garage will do more good than a complicated sorting plan nobody follows.
Our dumpster guides identify common household junk, furniture, wood, drywall, flooring, cabinets, branches, leaves, and other ordinary project debris as materials often suitable for a roll-off. Acceptance still depends on the material and the terms of your rental. Keep paint, solvents, chemicals, fuels, oils, batteries, tires, and electronics out unless we have confirmed an appropriate disposal arrangement. Ask about appliances, particularly those containing refrigerants, rather than assuming they can be loaded with furniture.
If you are renovating an older home and uncover a material you cannot identify, pause before breaking it apart or tossing it into the container. Sorting is not just about saving dumpster space. It keeps questionable debris from getting buried under several days of perfectly acceptable waste.
How to Load a Dumpster Rental Step by Step
A good loading pattern has two goals: use the space at the bottom and keep the weight reasonably balanced. We recommend working in layers, checking the load as you go, and leaving room to finish the job without building a mound above the walls.
Open the loading door and plan your path
If your dumpster has a rear loading door, use it for heavy or awkward items when the door is designed for that purpose. Walking a manageable item into the container is often easier than trying to lift it over a tall side wall. Follow the container’s instructions for opening and securing the door, and keep fingers clear of hinges and latches.
Before you carry anything in, look at the floor and decide where long pieces and bulky furniture will sit. Clear the path from the house to the dumpster. Loose nails, broken tile, wet grass, and extension cords become more troublesome when you are carrying something that blocks your view.
Never step into a container if loose debris, unstable materials, or sharp objects make footing uncertain. Keep children and pets away from the loading area. If an item is too heavy or awkward to control, get help or change your plan rather than trying to force it over the wall.
Build a stable base with bulky items
Start with large, approved pieces that would be difficult to fit around smaller debris later. Old cabinets, shelving, broken furniture, and long pieces of wood are common examples. Put broad, stable pieces down where they can lie flat; keep tall or irregular objects from leaning in a way that creates a large pocket underneath.
“Bulky first” does not mean dropping an entire sofa diagonally across the top of an empty container. It means giving the items with the fewest placement options a sensible place at the bottom. If a bookcase can be safely taken apart, its panels may lie flatter than the intact frame. If a table’s legs come off without much effort, those pieces can fill separate spaces.
For a kitchen remodel, you might place cabinet sections and longer trim pieces along the bottom, then add smaller approved debris around them. During a basement cleanout, dismantled shelving may form a flatter first layer than loosely tossed boxes. The exact sequence changes with the project, but the principle stays the same: avoid building a bridge of large items with unusable airspace beneath it.
Spread dense debris instead of making a heavy corner
Heavy material needs a different approach from light household clutter. Roofing shingles, tile, brick, concrete, soil, and similar debris can make a dumpster too heavy even when it still looks mostly empty. Contact us before loading significant amounts of these materials so we can confirm the appropriate container and disposal plan.
If the material is accepted for your rental, distribute it across the bottom rather than tipping it all into one end or corner. Do not pile dense debris against the door or rely on cardboard boxes to hold it in place. A balanced load is easier to handle at pickup and less likely to shift unexpectedly as you continue working.
Think about weight while you are still removing the material from the house or yard. A few broken tiles from a bathroom repair are different from tile removed throughout the first floor. The same is true of a small bucket of soil compared with a landscaping job that strips an entire bed. When the scope changes, check the plan before the dumpster fills.
Fill the gaps with smaller material
Once the bulky pieces have a stable place, use smaller approved debris to fill the open spaces around them. Loose trim can fit beside a cabinet. Flattened cardboard can slide against a flat panel. Bagged household junk can fill spaces that an intact piece of furniture cannot.
Flatten cardboard boxes rather than nesting full-size empty boxes inside the dumpster. Break down shelving or furniture when you can do it safely with the tools and time you have. Do not smash unknown containers, crush pressurized items, or handle sharp material barehanded just to save a few inches.
Aim for a reasonably even surface before starting the next layer. You do not have to play a perfect game of Tetris. You do want to avoid one high tower in the middle while usable space remains along both sides. Take a moment every few trips to look at the load from the ground; small corrections early are much easier than rearranging a nearly full container.
Keep everything below the top edge
As the dumpster fills, the top edge becomes your stopping point. Do not leave furniture, lumber, bags, or branches sticking above the sides. Do not balance one last mattress across the opening and hope it will settle on the drive away. Our dumpster guides tell customers to keep the load below the top edge so the container can be transported safely.
A level-looking load is not automatically within its weight allowance, and a light load is not automatically safe if pieces extend above the rim. Both limits matter. If you still have significant debris when the container reaches its safe fill level, stop and contact us about the next step instead of pressing down loose waste and building upward again.
Load Common Home Projects Differently
A garage cleanout, a renovation, and a yard project can all use a roll-off dumpster, but they create very different piles. Knowing what will arrive at the driveway helps you choose a loading order that works for your home.
Garage, attic, and basement cleanouts
Start these projects with a sorting pass. It is tempting to carry everything directly from the storage room to the dumpster, especially when you finally have a free Saturday. But these are the places where old batteries, paint, electronics, and family keepsakes often sit beside ordinary junk.
Bring out large damaged furniture and shelving after you have identified a path through the room. Load flat or dismantled pieces first. Follow with bags of confirmed trash, broken household items, and flattened cardboard. Keep a separate area for donation and recycling so those items do not end up buried by accident.
A 15-yard dumpster may suit a medium garage or basement cleanout. If you are clearing several storage areas at once, our 20-yard container may provide a better fit. In either case, do not use the size of the room alone to estimate debris; look at how much of it is actually occupied by bulky items.
Kitchen and bathroom renovations
Renovation debris tends to arrive in waves. First come cabinets and fixtures, then drywall and flooring, and finally packaging and offcuts. If contractors are working in the house, agree on what goes into the dumpster before demolition begins so restricted items do not get mixed into the load.
Place large cabinet pieces and safe-to-handle flat material along the bottom. Distribute heavier approved debris, such as tile, instead of concentrating it near the door. Use smaller pieces to fill spaces between the larger sections. Do not throw sharp tile or nail-studded wood where someone will later need to reach in and rearrange it by hand.
Our 15-yard guide describes that size as useful for moderate kitchen work and bathroom remodels; the 20-yard guide covers larger kitchen and multi-room projects. The amount of tile, stone, or other dense material can change the recommendation, so describe the demolition as well as the room count.
Flooring, carpet, and roofing debris
Carpet and padding can consume volume quickly if you throw them in loose heaps. Roll or fold manageable sections so they sit together rather than springing across the container. Keep tack strips, nails, and sharp flooring scraps contained and handle them with care. For wood or laminate flooring, shorter, flatter stacks usually leave fewer awkward gaps than long pieces tossed crosswise.
Roofing debris deserves an early weight conversation. Even a relatively small shingle job can produce a dense load, and a container that appears roomy may already be heavy. Tell us the approximate scope before you schedule and follow the loading plan confirmed for those materials. Keep people away from the drop area while debris is being carried or lowered.
Yard cleanups and storm debris
Branches have a talent for making a dumpster look full while leaving big air pockets between them. Trim or bundle manageable branches where it is safe and appropriate to do so, then lay them in a consistent direction. Fill spaces with smaller approved yard debris. Keep sharp ends from protruding above the container or into a walking path.
Leaves and grass clippings are different from branches, while soil, stone, and landscape blocks are different again. Our guides discuss yard projects involving branches, leaves, shrubs, and other outdoor debris, but they also warn that dirt, concrete, brick, and similar materials require planning because of their weight. If your Wilmington-area cleanup includes an old patio or a large quantity of soil, call us before you load it.
Avoid the Mistakes That Waste Space
The most common space problem is loading in the order items leave the house rather than the order they fit. If bags and little boxes go in first, large furniture may end up perched on top. Stage items beside the dumpster when you can do so safely, then load the pieces that establish a useful base.
Another mistake is making everything “fit” by piling it high on one side. The empty-looking opposite side does not help if you cannot place anything there without climbing on an unstable load. Spread material across the container and pause occasionally to check where the open space remains.
Do not mistake breaking things down for a requirement to demolish everything. Removing a few table legs or flattening cardboard can make sense. Cutting a large item with an unfamiliar tool, handling shattered glass, or forcing a heavy appliance apart can create a bigger problem than the space it saves. Choose the safe, practical adjustment, not the most dramatic one.
Finally, do not assume someone else knows what belongs in the dumpster. If family members, neighbors, or a renovation crew are helping, explain which items have been approved and where questionable materials should go. One prohibited can or battery buried deep in the load is much harder to address later.
Keep the Loading Area Safe
A dumpster helps keep debris contained, but the route to it still needs attention. Sweep up nails and fragments near doors and driveways. Carry long items with someone who can help you steer around corners. Wear sturdy shoes and suitable gloves for the material you are handling. If you cannot see where you are stepping, use a smaller load.
Do not toss a heavy object toward someone standing in or beside the container. Place materials deliberately, especially when the load contains glass, splintered wood, or broken tile. Check that the loading door is closed and secured according to the container’s instructions before pickup, and do not attempt to move the dumpster yourself once it has been placed.
In Wilmington neighborhoods with tighter driveways or on properties where several people are working at once, a little traffic control helps. Keep the walkway from the house separate from the spot where debris is being staged. Let everyone know when a large item is coming through. That small bit of coordination can make an all-day cleanout feel much less chaotic.
Check the Dumpster Before Pickup
When the work is done, walk around the container from ground level. Check for branches, boards, furniture, or bags above the rim. Look near the wheels and door for loose debris that should be cleaned up. Make sure the truck’s access route is still clear; delivery space matters again when we come to retrieve a full container.
Take one last look at anything you set aside for separate disposal. Paint, batteries, electronics, and other questionable items should not make a last-minute appearance in the dumpster just because the cleanup is almost over. If your project produced more waste than expected or you are concerned about weight, contact us before pickup rather than waiting for the truck to arrive.
Learning how to load a dumpster rental is mostly about paying attention to the next few steps: sort first, give bulky items a place at the bottom, distribute approved heavy debris, fill gaps without creating an unstable pile, and stop below the rim. That approach works whether you are clearing a garage in Newark, replacing flooring in Bear, or tackling a home renovation in Wilmington.
How to Load a Dumpster Rental: Your Questions, Answered
What is the best way to load a dumpster rental for a home cleanout?
Start with approved bulky items that can sit securely along the bottom, then use smaller approved debris to fill the gaps. We recommend spreading the load across the container, keeping a clear loading path, and checking the top edge as you work. Sort restricted or questionable items before anything goes in.
Should heavy items go in the dumpster first?
Generally, yes, if the materials are accepted for your rental. We recommend placing dense debris low and distributing it rather than piling it in one corner. Contact us before loading significant amounts of tile, shingles, concrete, soil, brick, or similar materials because weight can limit the load before the dumpster looks full.
Can I fill a dumpster above the top edge if the debris is light?
No. We ask that all debris remain below the top edge, including light items such as cardboard and branches. An item sticking out can interfere with safe transport even if the overall load is not heavy. Stop loading and contact us if the container reaches the rim before your project is finished.
What items should I keep out of a residential dumpster rental?
Keep paint, fuels, oils, solvents, chemicals, batteries, tires, electronics, and other materials needing special handling out of a standard load unless we have confirmed an approved arrangement. Ask us about appliances containing refrigerants and any item you cannot identify before you place it in the dumpster. Acceptance depends on the material and your rental terms.
How do I make more room in a 15-yard or 20-yard dumpster?
Flatten cardboard, safely take apart bulky items when practical, place broad pieces flat, and fill spaces with smaller approved debris. We recommend keeping layers reasonably even rather than stacking a tall pile in one spot. More room does not increase the allowed weight, so check with us before adding dense material.
Do I need to prepare my driveway before loading a dumpster in Wilmington, DE?
Yes. Clear a firm, level placement area and leave enough access for delivery and pickup. Our delivery guide recommends checking the route for vehicles and overhead obstacles. Ask us about driveway protection and placement concerns, and check local requirements if the container will sit in a public right-of-way rather than on private property.
A well-loaded dumpster gives your project room to move. Take a few minutes to sort the pile, keep the weight in mind, and make each layer work for the next one. The goal is not to squeeze in one last unsafe item; it is to finish the cleanout with the debris contained and the container ready to leave.